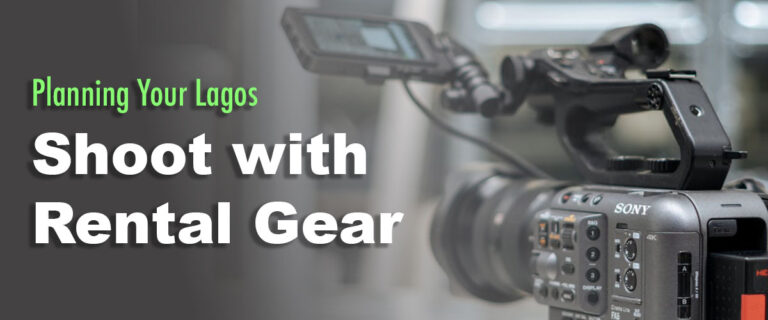
How to Set Up a DIY Home Studio That Looks Professional
As an online entrepreneur, photographer, or content creator, you already know of the importance of appearances. Having a home studio that looks professional can immediately improve your work and brand, whether you’re shooting product photos, podcasts, or YouTube videos.
The good news? Creating a professional-looking home studio doesn’t have to cost a fortune. In fact, Any room in your home can be turned into a production-ready area that wows clients, partners, and fans with a little preparation, the appropriate equipment, and some creative thinking.
Here’s how to do it right.
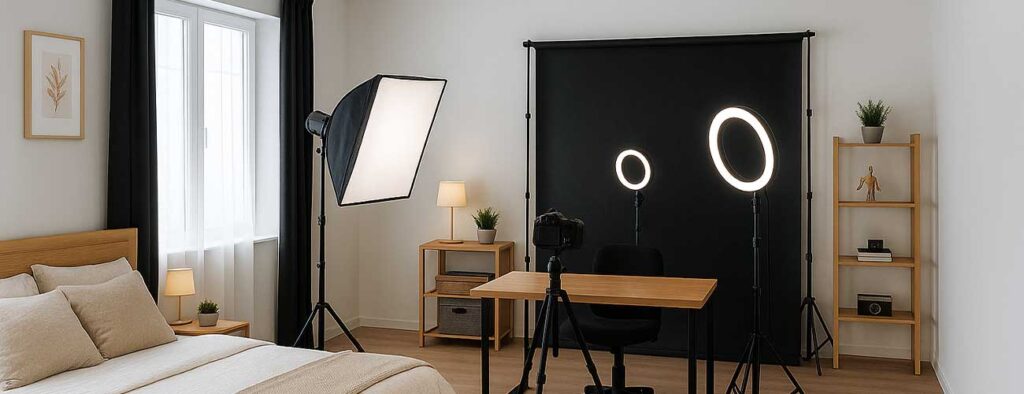
Step 1: Select the Proper Area
Choosing the ideal location is the first step in creating a home studio that looks professional. Ideally, pick a space that has:
- Natural light (or, if you want to control the lighting, blackout curtains)
- Very little noise
- Neutral walls (black, white, or light grey work well)
- Sufficient room for moving your camera or other equipment
It doesn’t matter how big it is; what matters is how you design it. Even a tiny corner can work.big it is.
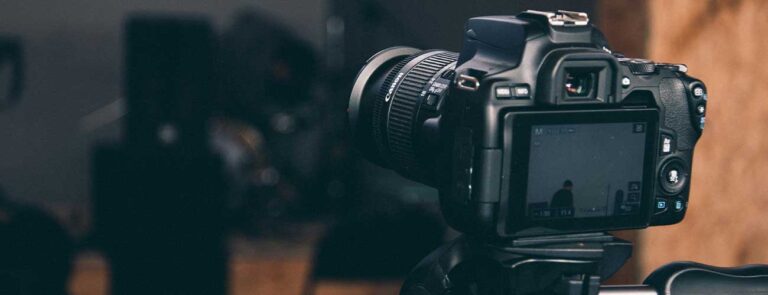
Step 2: Master Your Lighting
The difference between amateur and professional is lighting. Invest in the following to make your home studio appear professional:
- Ring lights or softboxes for gentle, aesthetically pleasing lighting
- Color-temperature-adjustable LED panels
- Diffusers to get rid of harsh shadows
Even natural light from a window combined with white reflectors can work wonders if you are on a budget.
Step 3: Clean Sound Matters
Don’t overlook sound when filming or recording audio. A home studio that looks professional should also sound professional.
Here’s how:
- To reduce the echo, add carpets, drapes, or foam panels.
- Make use of a good XLR or USB microphone.
- Check recordings for background noise and fix issues as soon as possible.
Step 4: Create a Visually Appealing Background
You should pay equal attention to what is behind you and what is in front of the camera. Your background establishes the mood whether you’re filming content or taking portraits.
To keep your home studio feeling and looking professional:
- Make use of textured wall panels or solid backgrounds.
- Maintain organization while adding shelves, plants, or props.
- Steer clear of personal distractions and debris.
Being consistent is essential; aim for a setup that appears flawless each time you press “record.”
Step 5: Keep It Organized and Flexible
Your home studio should feel like a place that suits you. Therefore, To keep things neat, use shelves, portable stands, and cable organizers. You need a smart space, not a large one.
Even if you’re just filming on your phone, your content will look more professional if your workspace is neat and organized.
Final Thoughts: Make It Yours, Make It Pro
Building a home studio that looks professional is about working smarter, not spending more. Moreover, a studio-sized budget is not necessary. You can set up a system that produces studio-caliber content from the comfort of your own home with careful planning, a few high-quality tools, and reasonably priced rental equipment.
Need help choosing gear for your space?
Visit CameraRentalLagos.com or call us to get expert recommendations on what to rent for your DIY studio setup. Whether it’s lighting, mics, backdrops, or cameras, we’ve got what you need to get started.