Camera Rental Checklist: How to Avoid Problems on Shoot Day
If you’re booking camera rental in Lagos, taking a few minutes to check the equipment before leaving the rental shop can save you a lot of stress later. The last thing you want is to arrive at a location, set up your shot, and discover that a battery is faulty, a lens has an issue, or the camera isn’t recording properly.
A quick pre-shoot check may seem like a small step, but it can prevent delays, reshoots, and unnecessary expenses.
1. Check the Camera Body Before You Leave
Start with the camera itself. Check the screen, buttons, ports, battery compartment, and body for any obvious damage. Turn the camera on and go through the basic settings to make sure everything responds as it should.
Then record a short test clip and play it back. This is especially important when renting cinema cameras for a commercial, documentary, music video, or corporate shoot. If something feels wrong, it is much easier to sort it out before you leave than when your entire crew is waiting on location.
2. Test the Lens and Check Compatibility
Don’t forget the lens. Look through the glass and check for visible scratches, dirt, or moisture. Attach it to the camera and test the focus, zoom, aperture, and image stabilisation if available.
Also make sure the lens actually works with your camera body and shooting setup. If you’re booking a lens rental as part of your kit, test it before the shoot. Even a small compatibility issue can become a major problem once production starts. Sony also recommends checking camera and lens focus with test shots before shooting. Sony camera support guide
3. Test Your Batteries and Chargers
Batteries are easy to overlook because they don’t seem as important as the camera itself. However, a shoot can come to a stop very quickly when you run out of power.
Check how many batteries you received and test them. Make sure the chargers and power cables are also included and working. For longer productions, think about how much shooting time you’ll need and whether you have enough power to get through the day.
4. Check Your Memory Cards and Recording Setup
Before you leave, confirm that your memory cards are compatible with the camera and suitable for the recording format you plan to use. Check the card capacity too. A card that worked perfectly on your last shoot may not be enough for a higher-resolution or higher-bitrate project.
Record a test clip and confirm that the camera saves and plays it back correctly. It’s a simple check, but it can save you from discovering a recording problem after an important take.
5. Check the Complete Production Gear Package
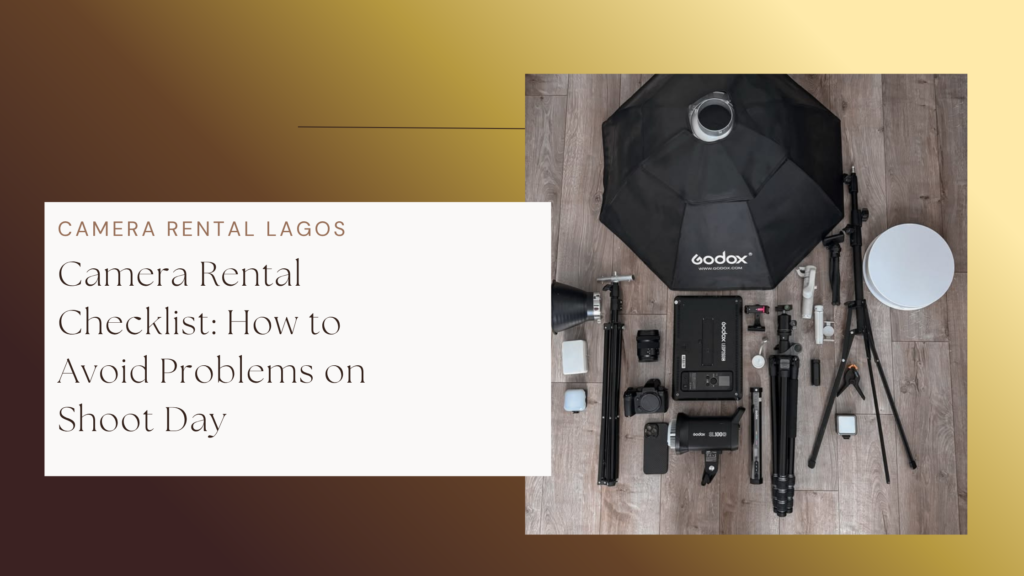
Your camera is only one part of the setup. Depending on the production, you may also need tripods, lighting, microphones, monitors, cables, batteries, chargers, memory cards, and other accessories.
Compare what you receive with what you originally booked. If you’re working with a tight budget, ask whether you can get the essential film equipment rental items together as a package instead of renting everything separately. This can make your setup simpler and help you avoid forgetting small but important production gear.
For a wider selection of video production equipment in Nigeria, you can also explore Camera Equipment Rental Lagos and check available cameras and accessories before your shoot.
Make Your Camera Rental in Lagos Stress-Free
The best camera rental experience in Lagos isn’t just about finding a good camera at a good price. It’s about knowing that the entire kit is ready before you start shooting.
Take a few minutes to test the camera, check the lens, confirm your batteries and memory cards, and make sure you have all the accessories you need. That small preparation can make a big difference when your crew, client, and location are already waiting.
If you’re planning a shoot, you can browse Camera Rental Lagos or contact the rental team to discuss the equipment your production requires.